
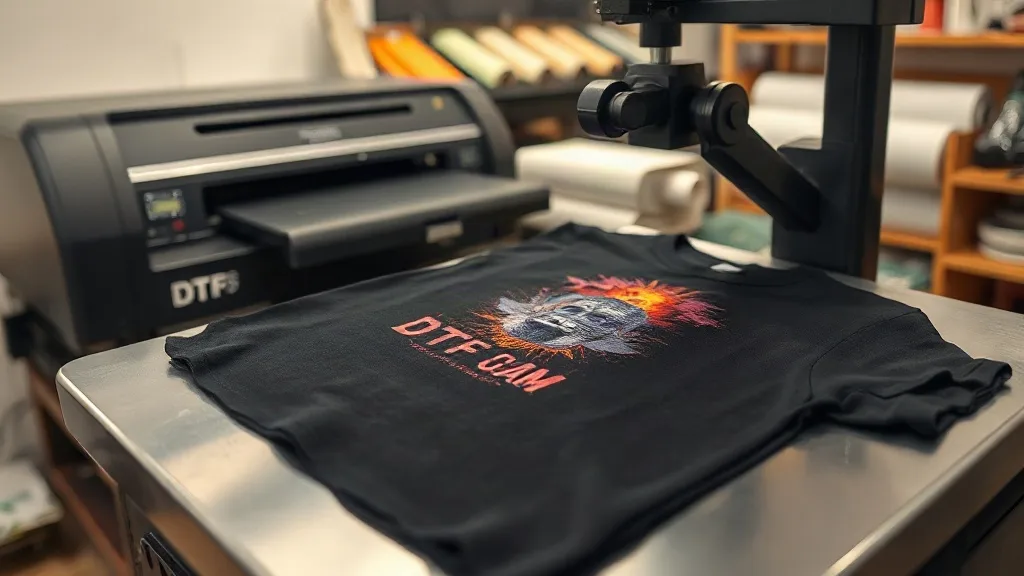
I still remember the smell of plastisol and the rhythmic thump of the press. After 15 years in screen printing, I thought I had seen it all. Then a customer asked for a full-color photo on a black hoodie, just one piece. My squeegee couldn't help. That's when I turned to dtf transfers, and it changed how I run my shop. If you're a screen printer curious about adding digital to your lineup, this is what I wish someone had told me before I bought my first roll of film.
What Exactly Are DTF Transfers?
Direct-to-film, or dtf transfers, is a digital printing method where designs are printed onto a special PET film using water-based pigments. A powdered hot-melt adhesive is applied to the wet ink, then the film is cured. When you're ready to apply, you press the transfer onto fabric with a heat press. The adhesive bonds the ink to the garment, and after peeling the film away, you're left with a vibrant, stretchable print. Unlike DTG, DTF doesn't require pre-treatment, and unlike vinyl, it handles complex, multi-color artwork with ease. It works on cotton, polyester, blends, and even some nylons, which makes it a versatile addition to any shop.
Why I Took the Plunge
My screen printing business was doing fine, but I kept turning down small orders: one-off bachelorette shirts, personalized team jerseys with player names, and full-color logos that would require six screens. The setup time and cost made those jobs unprofitable. DTF transfers solved that. I could print a single transfer for pennies and press it in under a minute. Suddenly, I could say yes to the jobs I used to dread. More importantly, I could attract a new type of customer: the Etsy seller, the small business owner, the event organizer who needs 20 shirts with different names. Those customers now make up 30% of my revenue, and they found me because I offered something my competitors didn't.
The DTF Process Step by Step
Understanding the workflow helps you decide if it fits your shop. Here's how it goes from digital file to finished garment.
1. Design Preparation
You start with a digital file, usually a PNG with a transparent background. The printer software mirrors the image automatically because you'll press it face-down. Color management is key: what you see on screen isn't always what you get, so calibrating your printer and using ICC profiles will save you headaches.
2. Printing
The printer lays down a layer of white ink first (for opacity on dark fabrics), followed by the color layers. Some printers have a separate channel for white, while others use a recirculating system to keep the pigment from settling. I check my white ink daily; a clogged printhead can ruin a whole roll of film.
3. Powdering and Curing
While the ink is still wet, you sprinkle the hot-melt adhesive powder over the film. A shaker machine ensures even coverage. Then the film passes through a curing oven or under a heat lamp. The powder melts and bonds with the ink. Overcuring makes the transfer brittle; undercuring means it won't adhere. I use a laser thermometer to hit the sweet spot, usually around 320°F for 2-3 minutes.
4. Pressing
When you're ready to apply, preheat your heat press to 320-350°F. Place the transfer on the garment, cover with a Teflon sheet or parchment, and press for 10-15 seconds with medium pressure. Let it cool completely before peeling. If you peel while hot, the design can stretch or lift. I learned that the hard way on a batch of 50 shirts.
Equipment and Costs: What You'll Actually Spend
Getting into DTF isn't free, but it's more accessible than you might think. Here's a breakdown of what I spent to get started:
- Printer: A dedicated DTF printer (I chose a 13-inch model) costs between $3,000 and $8,000. You can convert an Epson EcoTank, but expect to spend $1,500-$2,500 on the conversion kit and modified parts.
- Inks: DTF inks run about $100-$150 per liter. A full set for a 4-color printer might be $400. You'll go through white ink faster than colors.
- Film: A 100-sheet pack of A3 film costs around $50-$80. Buying in bulk brings the per-sheet cost down to $0.30-$0.50.
- Powder: A 1kg bag of hot-melt adhesive powder is $30-$50 and lasts a long time.
- Heat Press: If you don't already have one, a decent 15x15 clamshell press is $300-$600.
My total startup was roughly $5,000, and I recouped it within four months by taking on jobs I previously outsourced. The per-print cost for a typical 8x10 design is about $0.80, which includes ink, film, and powder. I charge $8-$12 for a single shirt, so the margins are healthy.
Quality and Durability: What to Expect
I've washed test shirts dozens of times to see how DTF holds up. When applied correctly, the print stays vibrant and stretchy without cracking for 50+ washes. The key is proper curing and pressing. If you skimp on time or temperature, the adhesive fails and the design peels. I now include a care card with every DTF order: wait 24 hours before washing, turn the garment inside out, and avoid fabric softener. Customers appreciate the guidance, and I get fewer complaints.
Compared to screen printing, DTF has a slightly rubbery feel, but it's thinner than vinyl and more durable than many DTG prints on dark shirts. For full-color photo reproductions, it's unmatched in the small-shop space.
Common Pitfalls and How to Avoid Them
I made plenty of mistakes early on. Here are the ones that cost me time and money:
- Clogged printheads: DTF ink contains pigments that settle. Run a daily nozzle check and use a maintenance station. If you skip a day, you'll pay for it.
- Uneven powder application: Too much powder creates a rough texture; too little means poor adhesion. Invest in a shaker machine or practice your technique.
- Inconsistent pressure: Heat press pressure affects how the adhesive bonds. I use a pressure gauge and check it weekly.
- Ignoring humidity: DTF film absorbs moisture, which affects curing. Store film in a sealed bag with desiccant packs.
These are simple fixes, but they separate a professional shop from a hobbyist.
Who Should Add DTF to Their Shop?
If you're a screen printer who regularly turns down small orders, DTF is a no-brainer. It's also great for embroiderers who want to offer printed accents, and for sign shops expanding into apparel. However, if you only do large runs of one-color prints, screen printing remains faster and cheaper per piece. DTF shines for short runs, complex art, and personalized items. I now run both: screen printing for bulk orders, DTF for everything else. My customers get the best of both worlds, and I capture more of their business.
Frequently Asked Questions
Can I use DTF transfers on 100% polyester?
Yes, and it works beautifully. Polyester requires lower pressing temperatures (around 280-300°F) to avoid dye migration. Use a low-temperature powder and test on a scrap piece first. I've had great results on polyester performance wear.
How long do DTF transfers last on a shirt?
With proper application and care, expect 50+ washes. The print may fade slightly over time, but it won't crack or peel if you follow the instructions. I've seen transfers last over a year with regular wear.
Do I need a special printer for DTF?
You can convert a standard Epson printer with a DTF conversion kit, but dedicated DTF printers are more reliable for daily production. They have better ink circulation and often come with a powder shaker and curing oven. If you're serious, invest in a dedicated unit.
What's the difference between DTF and DTG?
DTG prints directly onto the garment, which requires pre-treatment and works best on 100% cotton. DTF prints onto a film that is then transferred, so it works on more fabrics and doesn't need pre-treatment. DTF also produces more vibrant colors on dark shirts without a white underbase.
Can I stack DTF transfers for multiple colors?
You can layer DTF transfers, but it's tricky. It's better to print the entire design as one transfer. If you must layer, press the first transfer for a few seconds, peel, then apply the second on top. Use a lower temperature for the second press to avoid disturbing the first layer.